Adding an external hard drive to your setup is one of the simplest ways to expand your storage and give yourself a bit of breathing room when your internal disk starts groaning under the weight of photos, documents, and downloads. Whether you're a Windows user or firmly in the Mac camp, the process is refreshingly straightforward once you know what to look for. This guide walks you through everything from plugging in the cable to making the most of your newfound storage capacity.
In short
- Connecting an external hard drive is a straightforward way to increase storage capacity for both Windows and Mac users.
- Users must identify the correct port type—such as USB 3.0, USB-C, or Thunderbolt—and ensure the cable is firmly connected to prevent data corruption.
- Most modern operating systems automatically detect the new hardware, though some drives may require manual formatting to become accessible.
- Choosing the correct file system format is crucial, with exFAT being recommended for compatibility between both Windows and Mac environments.
- Effective storage management involves naming the drive, removing duplicate files, and keeping the hardware clean to maintain long-term performance.
- Implementing a 3-2-1 backup strategy ensures data security by keeping multiple copies across different media and cloud services.
- Monitoring the drive for performance issues or unusual sounds and running diagnostic tools can help identify potential failures early.
Connecting your external hard drive to your computer
Locating the Appropriate USB Port on Your Device
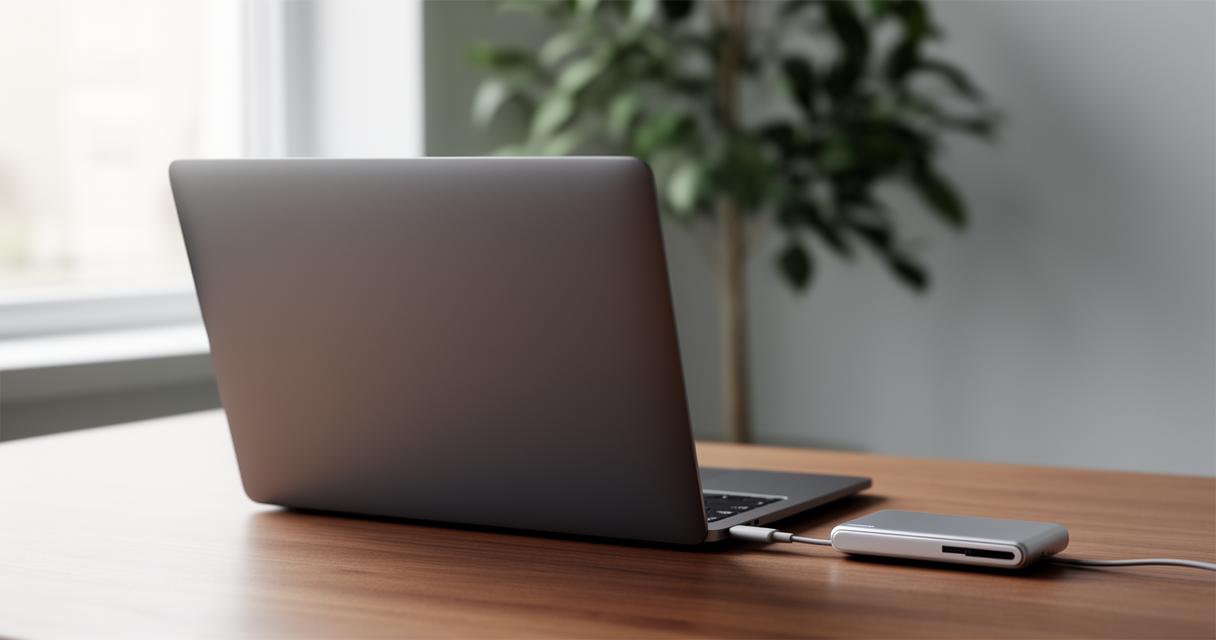
Before you do anything else, take a moment to inspect your computer and the cable that came with your external hard drives. Most modern machines offer a mix of connection types, so it's worth knowing which one you're dealing with. You might find a standard USB 3.0 port, a slimmer USB-C slot, or, on newer laptops, a Thunderbolt port capable of shifting data at remarkable speeds. Checking the cable end against the available ports on your laptop or desktop will save you a fair bit of fumbling about. If your device is a touch older, you may need an adapter to bridge the gap between USB-C and traditional USB ports, so it's sensible to check compatibility before you start.
Securing the Connection Between Drive and Computer
Once you've identified the correct port, simply plug the drive in firmly. There's no great trick to it, though it does help to avoid forcing the connector if it doesn't slot in easily, as this usually means you're using the wrong port or the cable is upside down. A snug, secure connection is essential, particularly for larger transfers, since a loose cable can cause interruptions or even corrupt files mid-transfer. Many people, including a friend of writer Nicole Gale who learnt this lesson the hard way, discover the importance of a stable connection only after losing data partway through a backup. Taking those few extra seconds to check the cable is properly seated will spare you considerable frustration later on.
Configuring your external hard drive for first use
Understanding automatic recognition and system detection
In most cases, your operating system will spring into action the moment it detects new hardware. Windows typically displays a notification and adds the drive to File Explorer within seconds, while Mac users will usually see a new icon appear on the desktop or within Finder. This seamless recognition is thanks to built-in USB connectivity drivers that most systems now handle without any input from you. It's a good habit to double check that the drive appears correctly and that its full storage capacity is showing, since external hard drive sizes can range anywhere from a modest 512GB right up to several terabytes, and you want to be sure your computer sees the full amount you paid for.
Formatting your drive when manual setup is required
Occasionally, a drive won't show up automatically, and that's usually a sign it needs formatting before your system will recognise it properly. On a Windows machine, you'll want to right-click on This PC, locate the drive, and choose the format option from the menu that appears. Mac users follow a similar path through Finder, selecting the drive and choosing the appropriate formatting tool. When it comes to drive formatting, you'll typically be offered a choice between NTFS, exFAT, and FAT32. NTFS suits Windows-only use, exFAT works beautifully across both Windows and Mac, and FAT32 remains useful for older devices, though it does cap individual file sizes. Picking the right format from the outset avoids compatibility headaches down the line, especially if you plan on moving the drive between different machines.
Finalising installation and managing your storage
Completing the installation process across different operating systems
Whichever operating system you're using, the final steps of installation tend to follow the same gentle rhythm: confirm the format, follow any on-screen prompts, and give the drive a sensible name so you can identify it easily later. It's also worth taking a moment to consider drive maintenance from day one. Keeping the drive clean, both physically and in terms of file clutter, updating your operating system regularly, and knowing exactly what's stored on the drive are all habits that pay dividends over time. Removing duplicate files periodically also helps keep things tidy and ensures you're not wasting valuable space unnecessarily.
Transferring files and utilising your additional storage space
With everything installed, you're free to start transferring files, whether that's shifting years of photographs off your laptop or setting up a proper backup routine. Many experts recommend the 3-2-1 backup strategy, which involves keeping three copies of your data, two stored locally on different types of media, and one kept offsite or in cloud storage for extra peace of mind. This approach pairs nicely with an external drive, giving you a reliable local copy while services handle the offsite portion of your backup strategies.
It's also sensible to stay alert to signs of drive failure, such as unusual clicking sounds, sluggish performance, or files that suddenly become inaccessible. Running SMART diagnostics occasionally can give you an early warning if something's amiss, allowing you to move your data before a full failure occurs. Troubleshooting common installation hiccups, whether that's a drive not appearing or formatting errors, usually comes down to checking cables, trying a different port, or reformatting with the correct file system. With a little care and regular data backup habits, your external hard drive should serve you reliably for years, offering both extra space and a valuable layer of protection for the things that matter most.