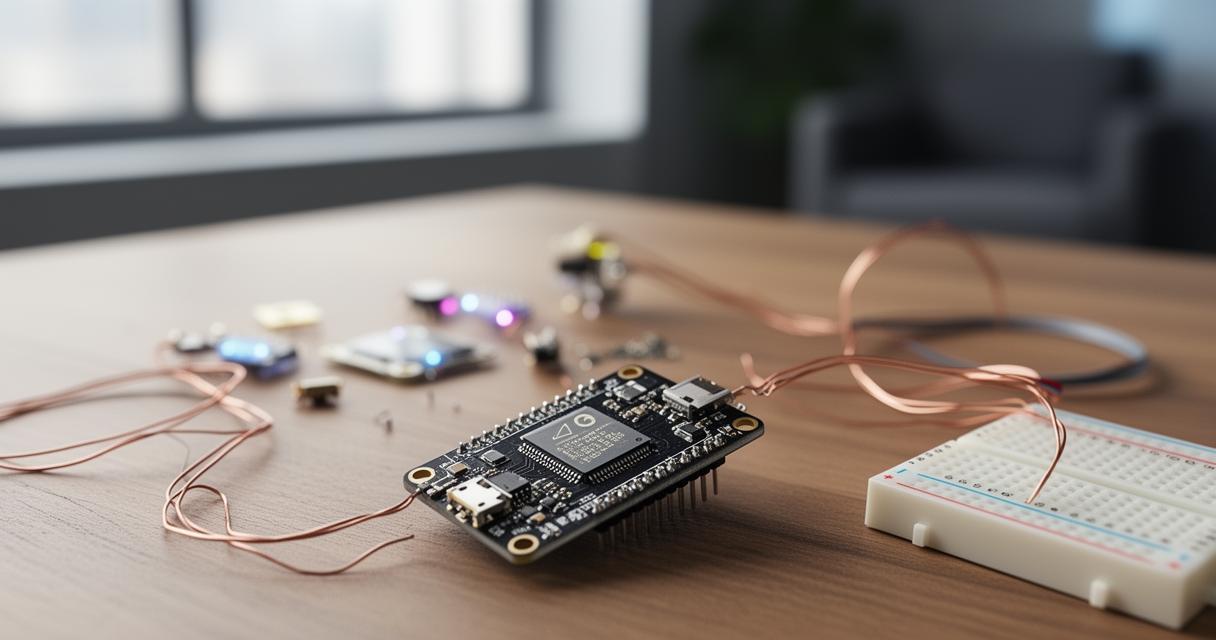
The Raspberry Pi Pico W has quickly become a favourite amongst hobbyists and engineers who want to build clever, connected gadgets without breaking the bank. This tiny board packs wireless capability into a microcontroller format, opening the door to a whole range of weather monitoring builds that can report readings straight to your phone or a web dashboard. In this article, we'll wander through the process of setting things up, wiring in sensors, writing the necessary code, and then pushing your project further into robotics and cloud-based territory.
In brief
- The Raspberry Pi Pico W is an affordable and versatile microcontroller that features integrated wireless connectivity for remote data monitoring.
- Users can easily set up their development environment using the Thonny editor and MicroPython firmware to begin programming immediately.
- Success in weather monitoring projects relies on a solid understanding of GPIO pins and the use of breadboards for prototyping sensor connections.
- Popular sensors like the DHT22 or BME280 can be integrated with MicroPython to measure environmental conditions such as temperature and humidity.
- Onboard wireless capabilities allow the Pico W to transmit real-time weather data to home networks or cloud-based dashboards.
- Builders can incorporate LED status indicators to provide immediate visual feedback on local weather conditions.
- Advanced projects can extend beyond monitoring by integrating additional sensors and using the Pico W to automate physical tasks in robotics and smart gardening.
Getting Started with Raspberry Pi Pico W for Weather Monitoring Applications
Before diving into wiring diagrams and code, it's worth taking a moment to get your workspace sorted properly. The Raspberry Pi Pico W runs on a dual-core processor and includes onboard wireless networking, which makes it particularly well suited to projects that need to send data somewhere useful rather than just display it locally. Getting the foundations right from the start will save a great deal of head-scratching later on.
Setting Up Your Development Environment with Thonny and MicroPython Firmware
Most makers begin their journey with Thonny, a lightweight code editor that plays nicely with the Pico W straight out of the box. Once you've downloaded the correct MicroPython firmware build for the wireless variant of the board, flashing it is simply a matter of holding the BOOTSEL button whilst plugging the device into your computer, then dragging the firmware file across. From there, Thonny recognises the board automatically, and you're free to start writing scripts almost immediately. It's a refreshingly gentle introduction, even for those who haven't touched embedded systems before, and this accessibility is part of why the platform has attracted such a devoted following amongst weekend tinkerers.
Understanding GPIO Pins and Connecting Weather Sensors to Your Microcontroller
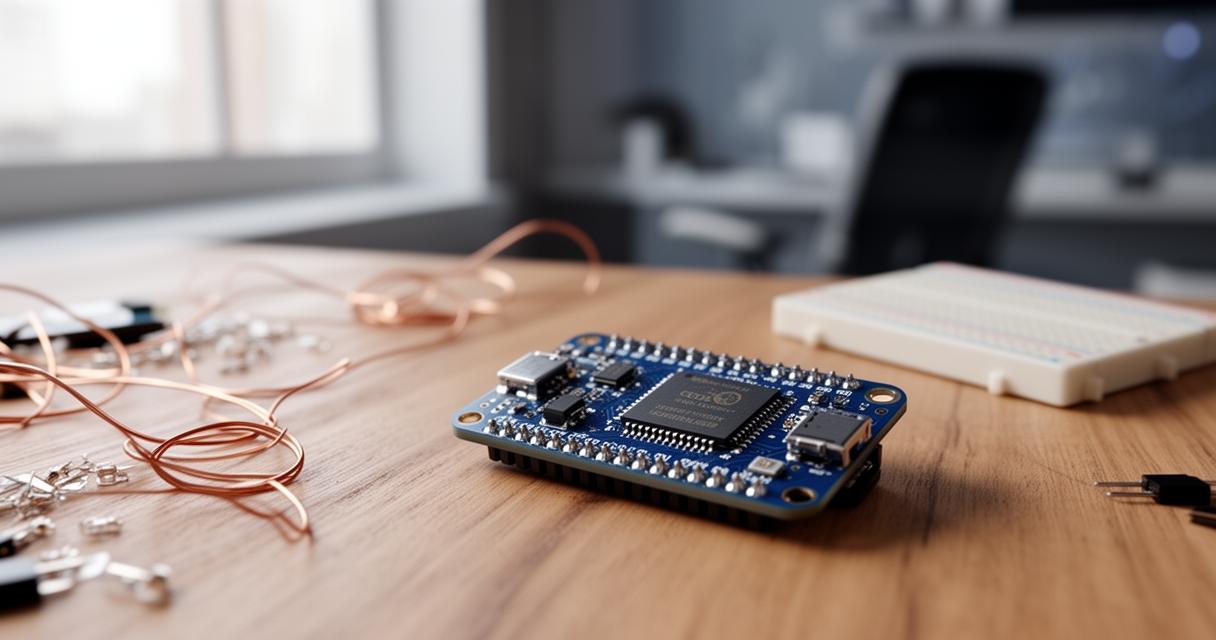
Every project of this kind hinges on a solid grasp of the board's GPIO pins, which act as the bridge between your code and the physical world. The Pico W offers a generous number of these pins, supporting digital input and output as well as analogue readings and communication protocols such as I2C and SPI. When connecting weather sensors, it helps to consult the pinout diagram carefully, as mismatched wiring is one of the most common stumbling blocks for newcomers. A breadboard is invaluable at this stage, allowing you to experiment with sensor placement before committing to a more permanent soldered build.
Building practical weather monitoring projects with wireless connectivity
With your environment ready and your pins mapped out, the fun part begins: actually building something that measures and reports on the world around it. This is where the microcontroller starts to feel less like a piece of electronics and more like a genuine little weather station in its own right.
Programming temperature and humidity sensors using micropython
A typical starting point involves a temperature and humidity sensor such as the DHT22 or BME280, both of which are widely documented and simple to interface with using MicroPython. Reading values from these components usually takes just a handful of lines of code, and the results can be printed to the console for testing before being sent onward. Many enthusiasts choose to log this data over time, building up a picture of local conditions that can be surprisingly more detailed than what a general forecast provides. The beauty of this approach lies in its flexibility, as the same core script can be adapted to feed a display, trigger an alert, or push updates to a remote server.
Implementing led status indicators and real-time data transmission through embedded systems
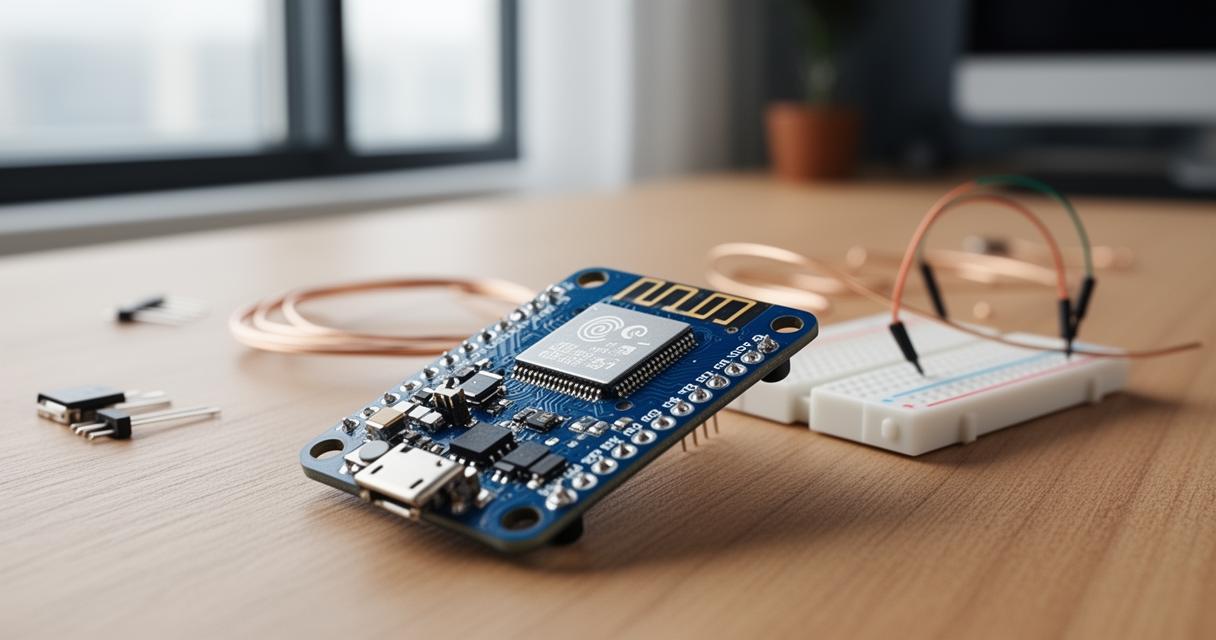
No weather project feels complete without some visual feedback, and this is where a simple LED becomes surprisingly useful. A red light might indicate high humidity, whilst a green one confirms that conditions are stable, giving an at-a-glance summary without needing to check a screen. Beyond local indicators, the wireless chip built into the board allows readings to be transmitted in real time to a home network or an online service, meaning your embedded systems project can quietly report conditions from a garden shed or windowsill without any manual intervention. Setting up this connectivity typically involves a short script that joins your Wi-Fi network and then sends data using a lightweight protocol suited to small devices.
Advanced applications: from weather stations to robotics integration
Once the basics are working reliably, many builders find themselves wanting more, whether that's additional sensors, smarter data handling, or entirely new categories of project built on the same foundations.
Expanding Your Projects with Multiple Sensors and Cloud Connectivity Features
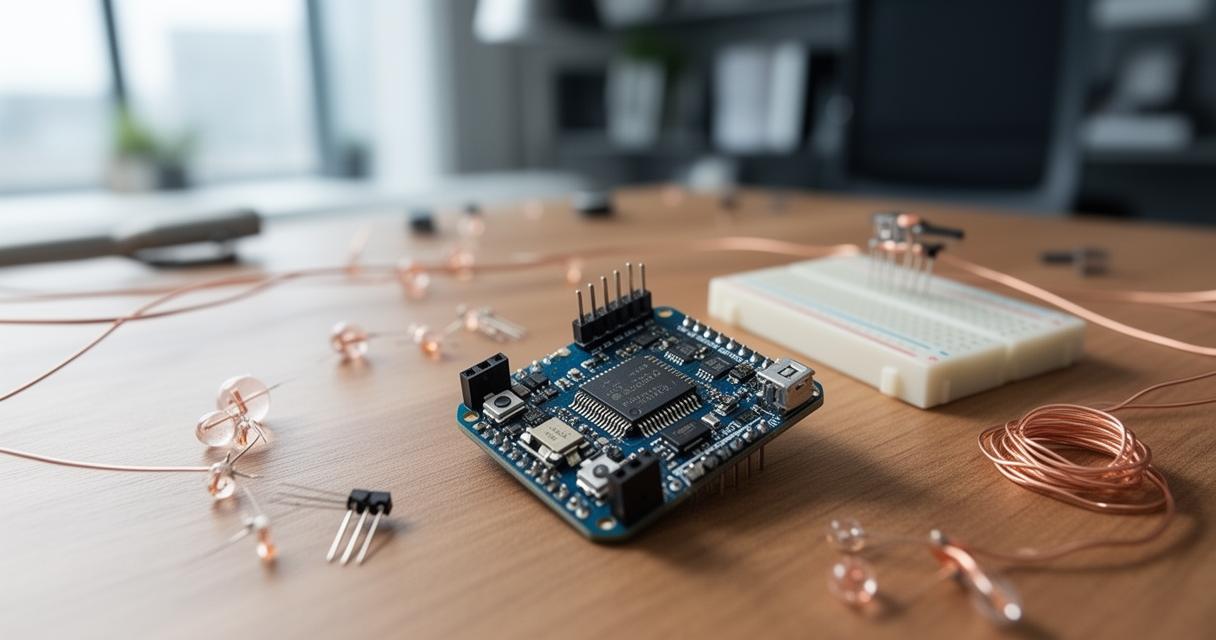
Adding extra sensors, such as barometric pressure or rainfall detectors, allows a single board to build a much richer picture of local weather patterns. Combining these readings and sending them to a cloud platform means your data becomes accessible from anywhere, and services designed for hobbyist projects often provide free tiers generous enough for personal use. This kind of expansion also introduces useful programming challenges, encouraging you to think about how frequently readings should be taken and how to handle the odd sensor hiccup gracefully.
- Barometric pressure sensors for tracking incoming weather changes
- Rain gauges or moisture sensors for garden and allotment monitoring
- Cloud dashboards for remote viewing and historical logging
Exploring robotics applications and automated weather response systems
Beyond passive monitoring, some makers push their builds into genuinely automated territory, using the Pico W to control motors or actuators in response to changing conditions. A greenhouse vent that opens automatically when temperatures climb, or a small robotic arm that retracts washing lines at the first sign of rain, both demonstrate how robotics and environmental sensing can work hand in hand. These projects often draw on the same programming principles used earlier, simply extended to include motor control alongside sensor input, proving just how versatile this small board can be once you understand its fundamentals.